Setting up Intune for Duke Health applications on iPhone
Please review - Before You Enroll | Mobile Device Manager
1. Scan this barcode with your iPhone’s camera to begin:

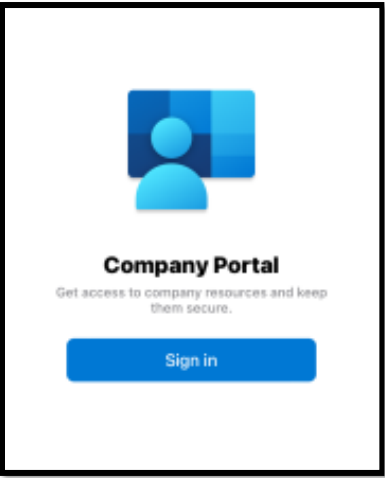
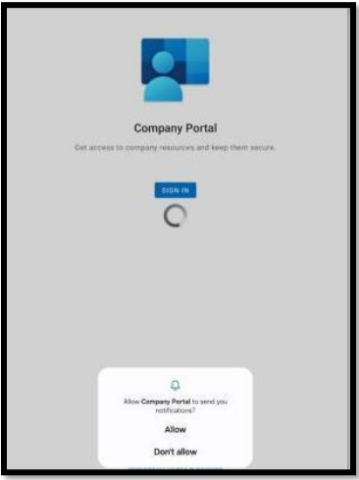
2. Sign in to the Company Portal using your Duke Health credentials(netid@duke). You may be asked to sign in more than once throughout this process.
3. Follow prompts choosing “OK” or “Allow” Setting up Intune for Duke Health applications on iPhone
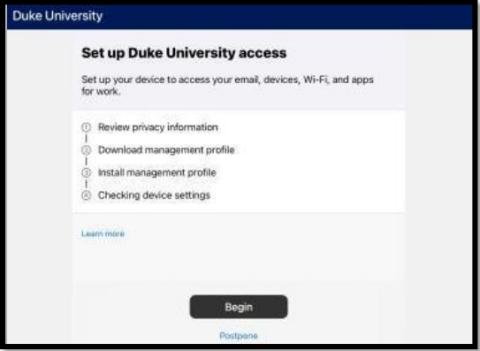
4. Select “Begin” and continue and choose “allow” and “accept” to all prompts. Setting up Intune for Duke Health applications on iPhone
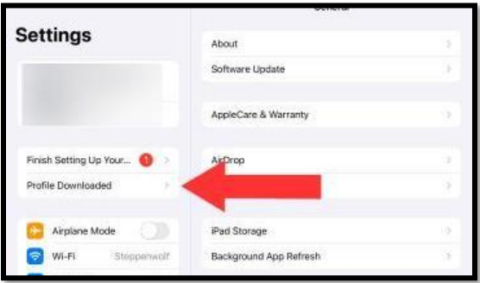
5. The setup will download a configuration profile. You will be directed to continue to settings. Choose Downloaded profile and follow the prompts to install.
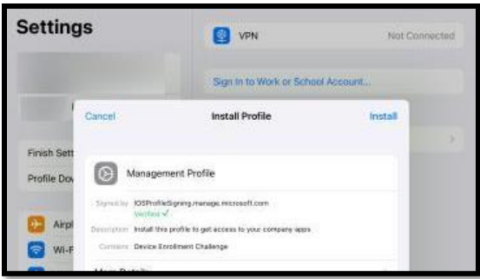
6. Choose “Trust” at the following dialogue box.

7. When complete, locate and open the new icon named “Comp Portal”
8. Continue and when prompted, select “DH-BYO-Personal Owned Devices” as shown below. This will select the Duke Health BYOD grouping. Select “Continue”.

9. Continue to follow prompts allowing access.
10.When finished, Duke Health apps will be available for use. Duke Mail will use the Native iOS Mail and Calendar as the Default apps.
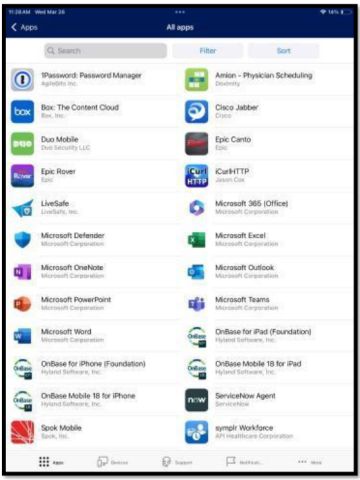
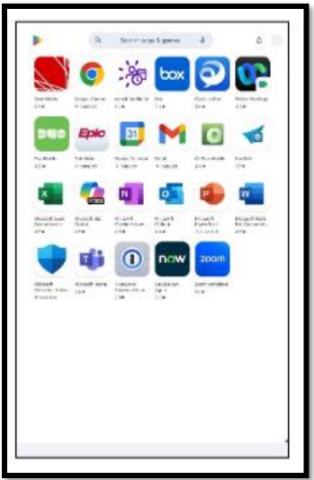
Your setup is now complete! Through the company portal you will now see and be able to search and install any of a list of Duke Health mobile applications.
For more detailed instructions please visit Enroll In Mobile Device Manager (Intune detailed) | Mobile Device Manager
To install Haiku/Canto after you enroll follow the steps here.
Setting up Intune for Duke Health applications on Android
Please review - Before You Enroll | Mobile Device Manager
1.Scan this barcode with your Android’s camera to begin:

2. Sign in to the company portal using your Duke Health credentials(netid@duke). You may be asked to sign in more than once throughout this process.
3. Choose “Allow”
4. Select “Begin” and continue and choose “Allow” and “Accept” to all prompts.
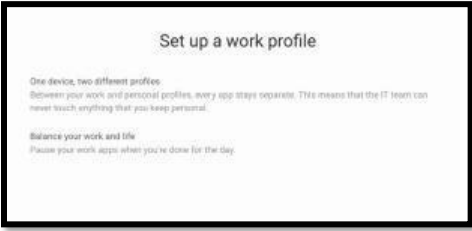
5. Android requires a Work Profile to be setup. Please choose “Agree” to continue. It may take a few minutes.
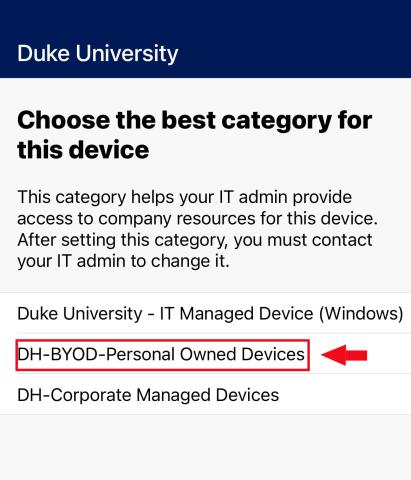
6. When presented with this screen, select the following category - DH–BYOD-Personal Owned Devices. Then select “Done”.
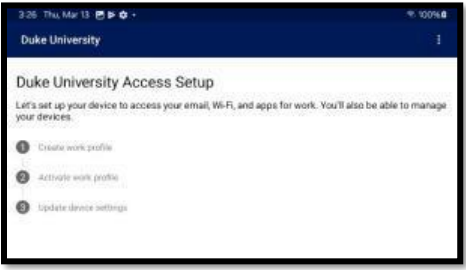
7. A ‘Duke University Access Setup” screen will appear. Choose “Continue”.
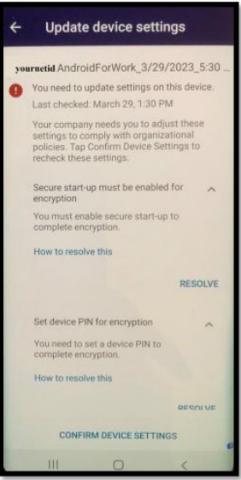
Please note: If security policy requirements are not met you will need to update the device. Go into settings app, set a passcode and turn on encryption.
• On Samsung set Secure Setup
• Device Details - Check device settings
• Choose - Confirm Device Settings when you've resolved all issues.
• Choose – Done
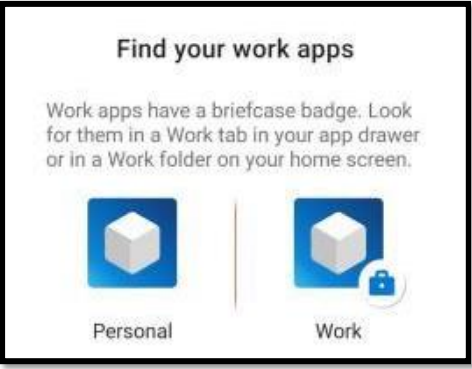
8.When finished, Duke Health apps will be available for use. Duke Mail can now use the Native Android Mail.
Your setup is now complete!
Through the company portal you will now see and be able to search and install any of a list of Duke Health mobile applications.
For more detailed instructions please visit Enroll In Mobile Device Manager (Intune detailed) | Mobile Device Manager
To install Haiku after you enroll follow the steps here.